Practical Git Installation Step-by-step Tutorial
Git has become an essential tool for version control in software development, allowing teams to collaborate efficiently on projects of all sizes. Understanding how to install Git is the first step toward managing your code effectively. This tutorial will guide you through the installation process on various operating systems, ensuring that you have the tools you need to start tracking changes and collaborating with others seamlessly.
What is Git?
Git is an open-source distributed version control system designed for speed, flexibility, and efficiency. Its key features include:
- Distributed Architecture: Every developer has a complete copy of the repository, enabling offline work and robust collaboration.
- Fast Performance: Git is optimized for speed, handling large projects with ease.
- Branching and Merging: Easily create, switch, and merge branches to manage different features or versions.
- Data Integrity: Ensures the integrity of your code and history with cryptographic hashes.
- Wide Adoption: Used by major companies and open-source communities worldwide.
Installing Git
Follow these steps to install Git on your Windows computer:
- Visit the Git download page, click the blue “Download” button, or select your operating system on the left side.
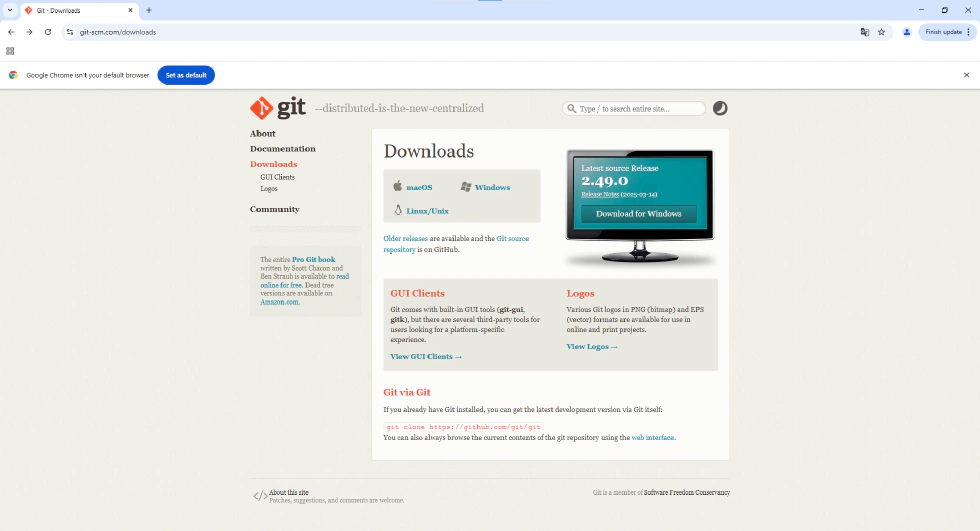
- Choose the Standalone Installer for Git for Windows/x64 Setup.

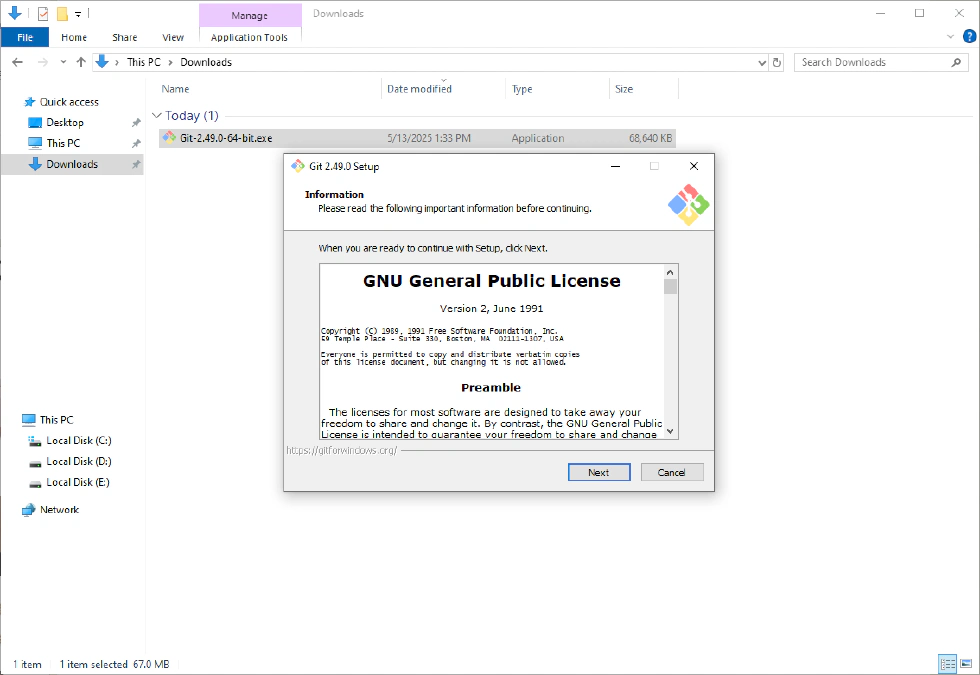
- Access your download directory and open the file named Git-x.xx.x-64-bit (.exe).

- Agree to Git’s license agreement.
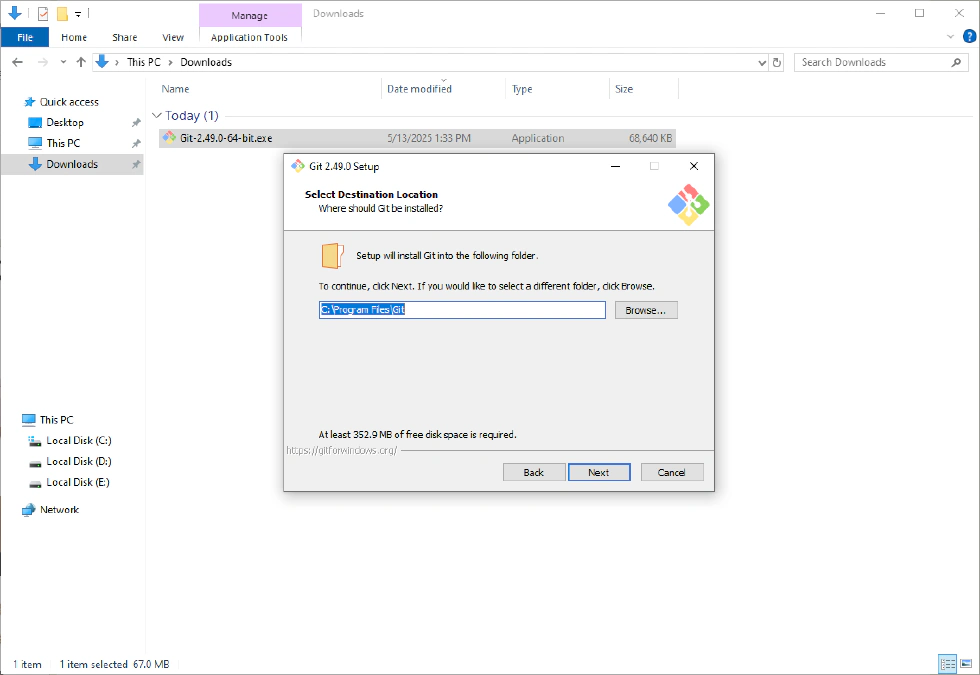
- Select the location where you want to install Git (the default is C:\Program Files\Git).
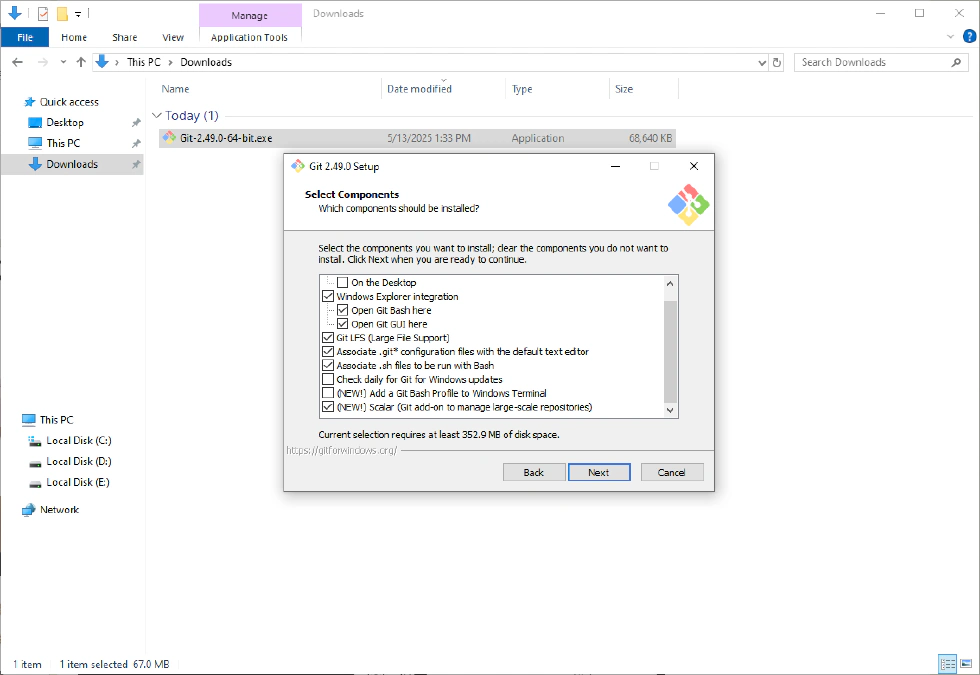
- Choose the components you want to include.
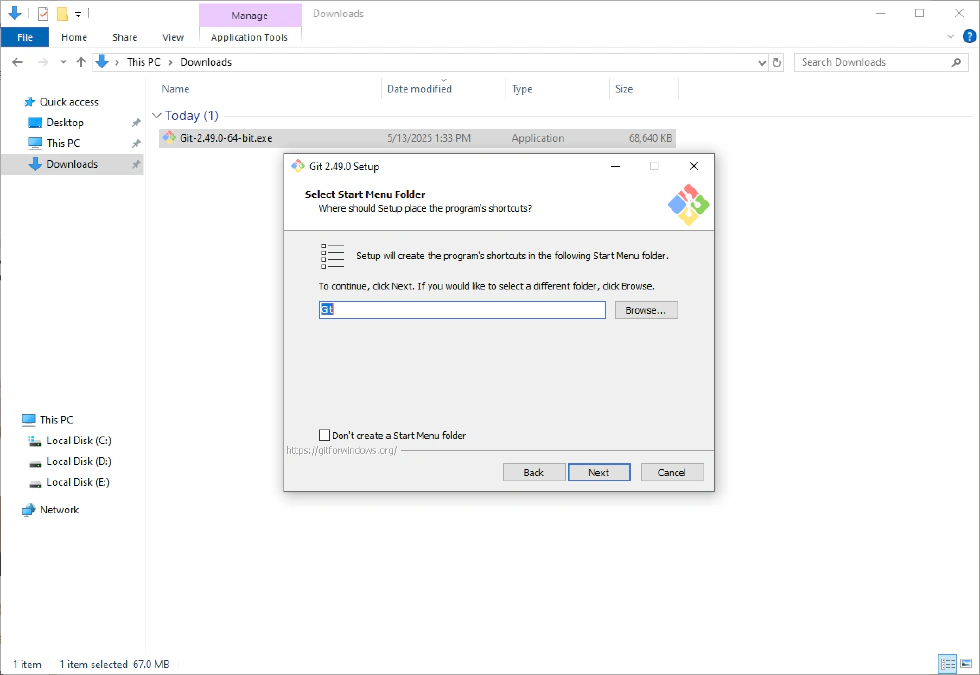
- Select the Start Menu Folder—if you don’t want to create a start menu shortcut, uncheck the box.
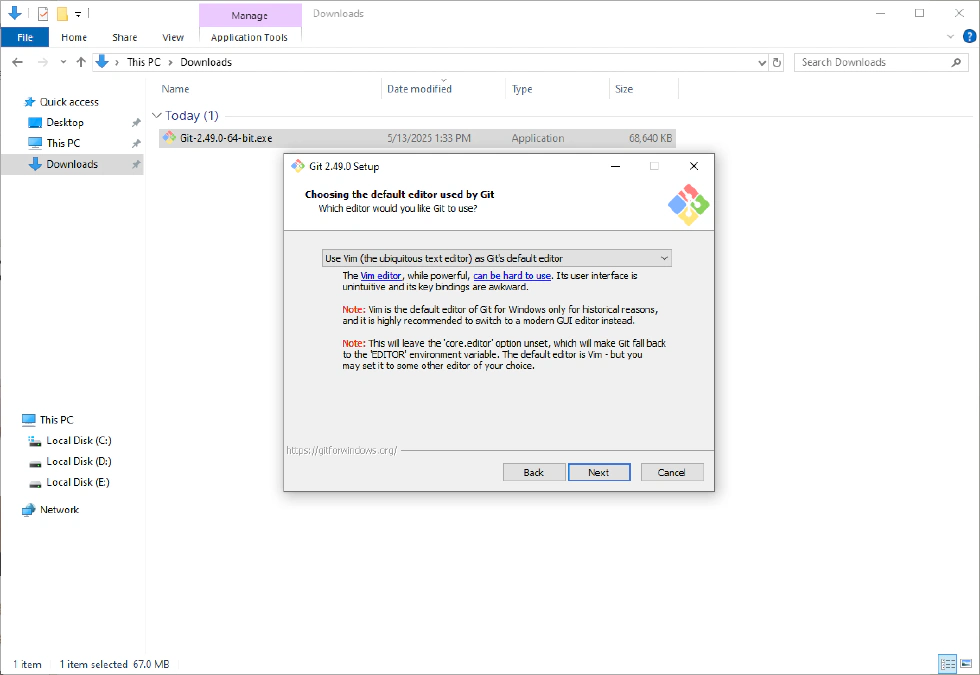
- Choose your default editor used by Git (such as Nano, Vim, Notepad++, VSCode, Sublime Text, Atom, etc.).
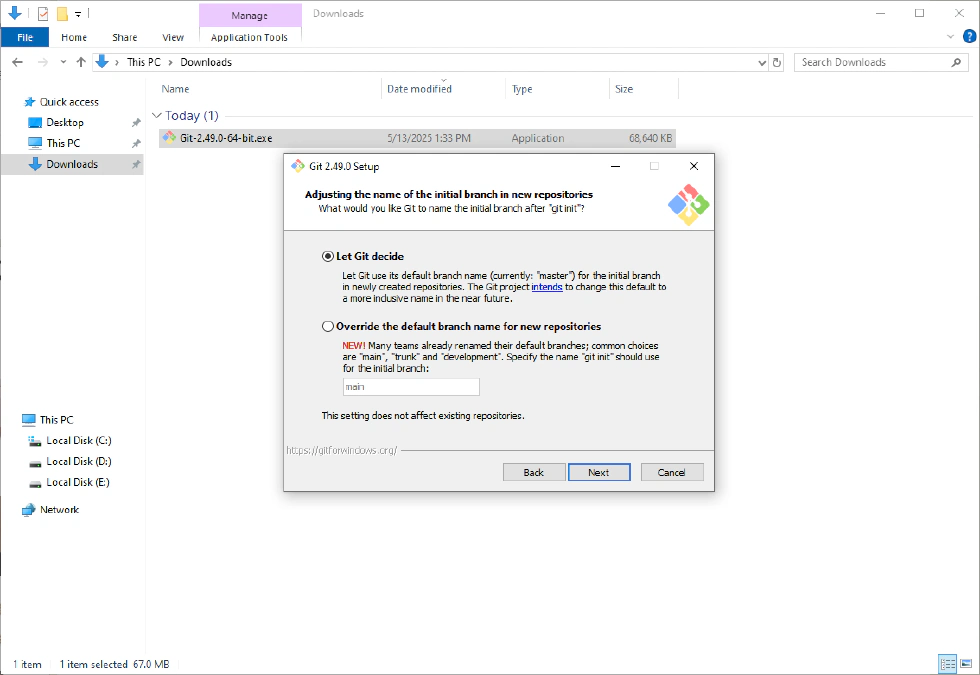
- Adjust the name of the initial branch in new repositories—keep the default or customize as needed.
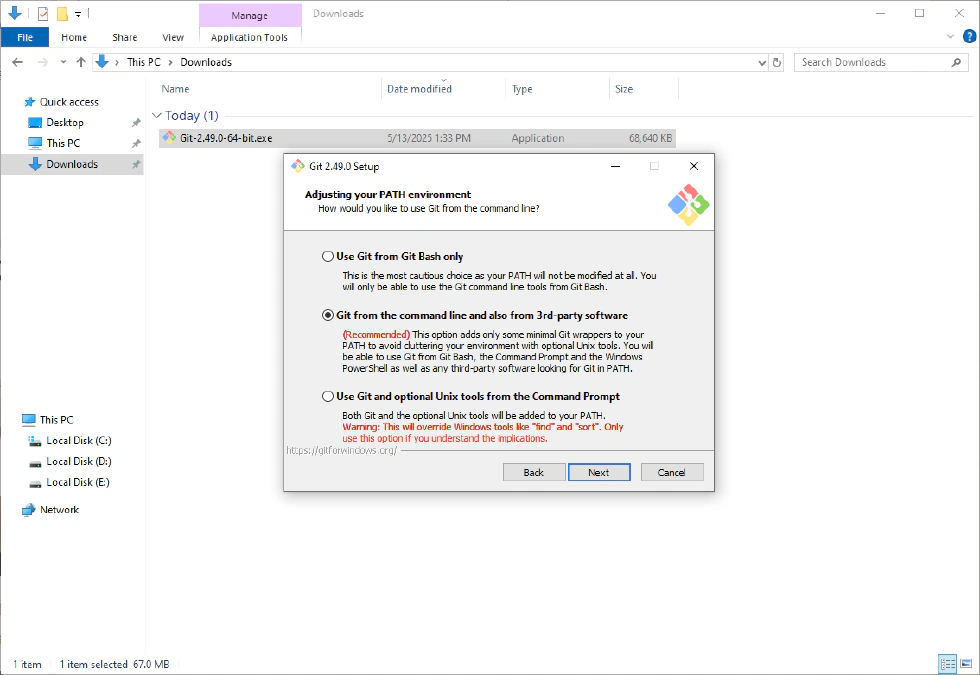
- Adjust your PATH environment—keep the default option.
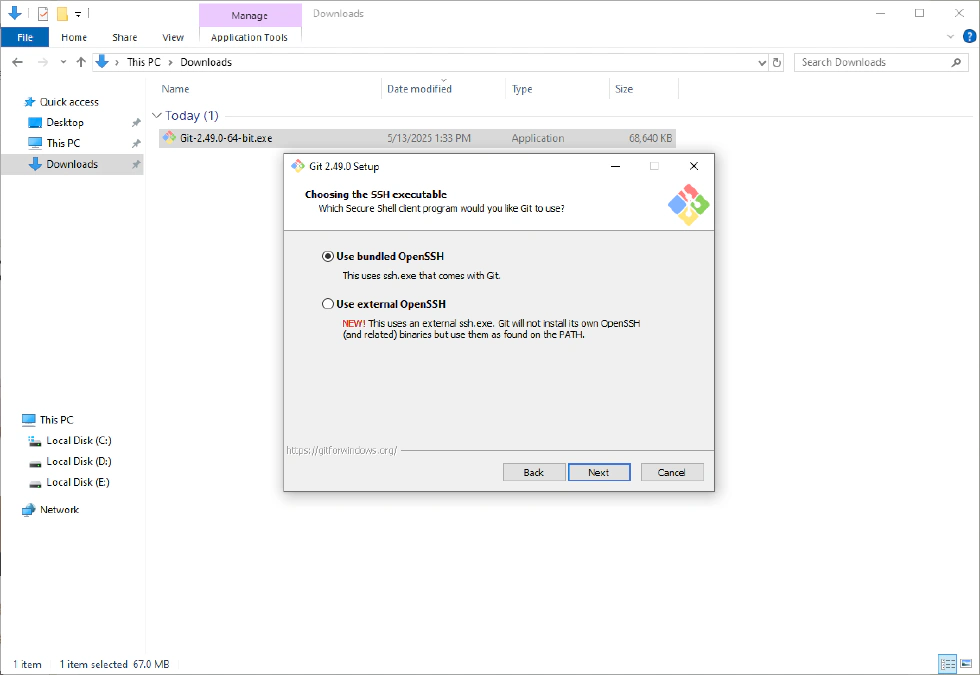
- Choose the SSH executable—keep the default.
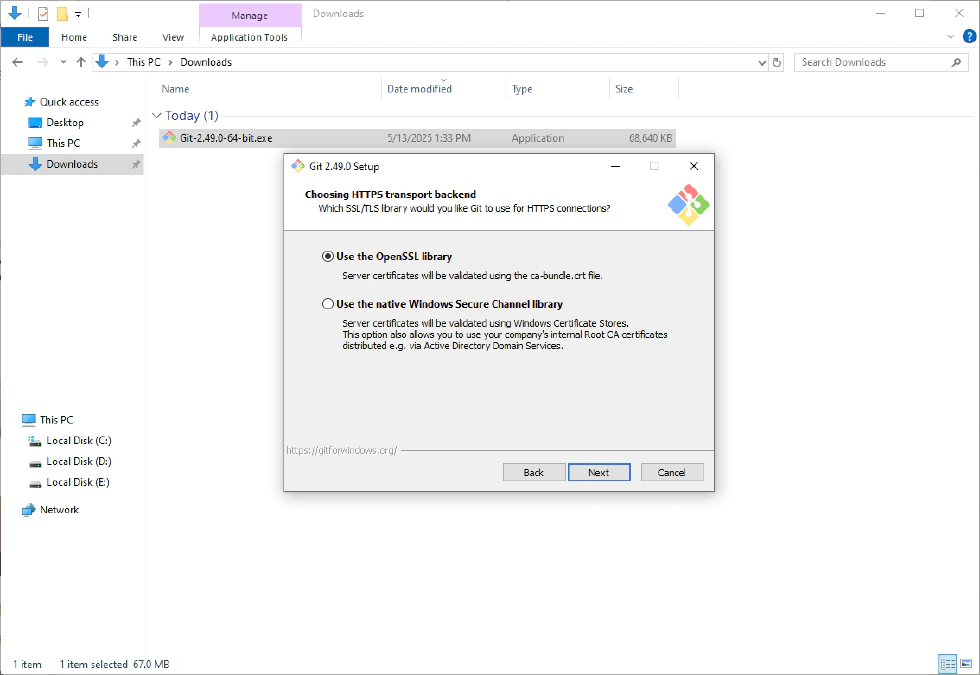
- Choose HTTPS transport backend—if you are a regular user, the first option is sufficient.
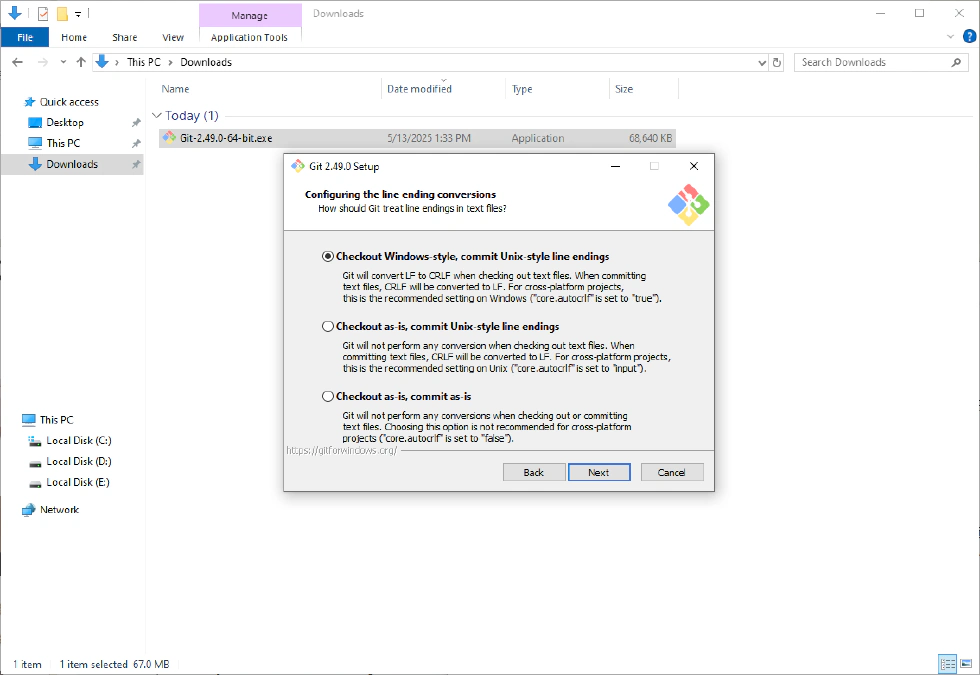
- Configure the line ending conversions—keep the default.
- Configure the terminal emulator to use with Git Bash—keep the default.

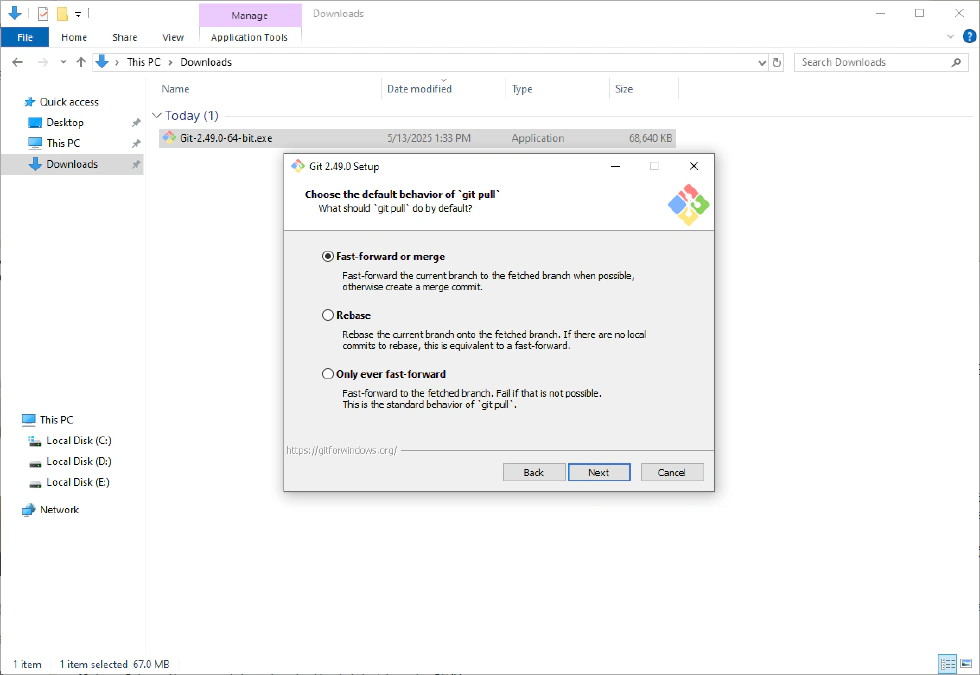
- Choose the default behavior of ‘git pull’—keep the default.
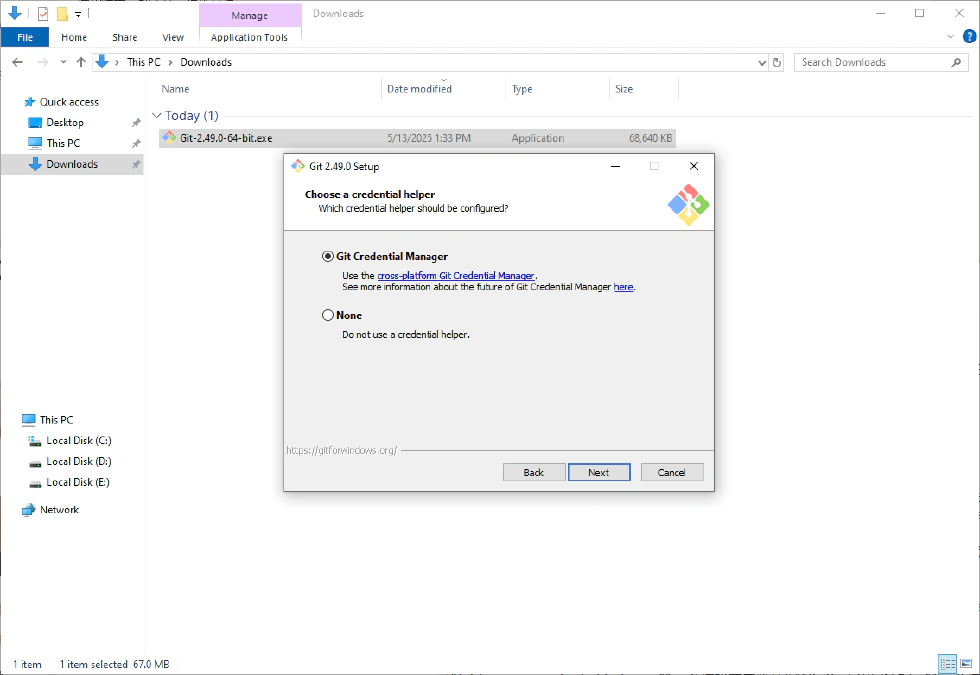
- Select a credential helper—first option requires verifying your GitHub credentials; the second does not.
- Configure extra options—keep the default settings.
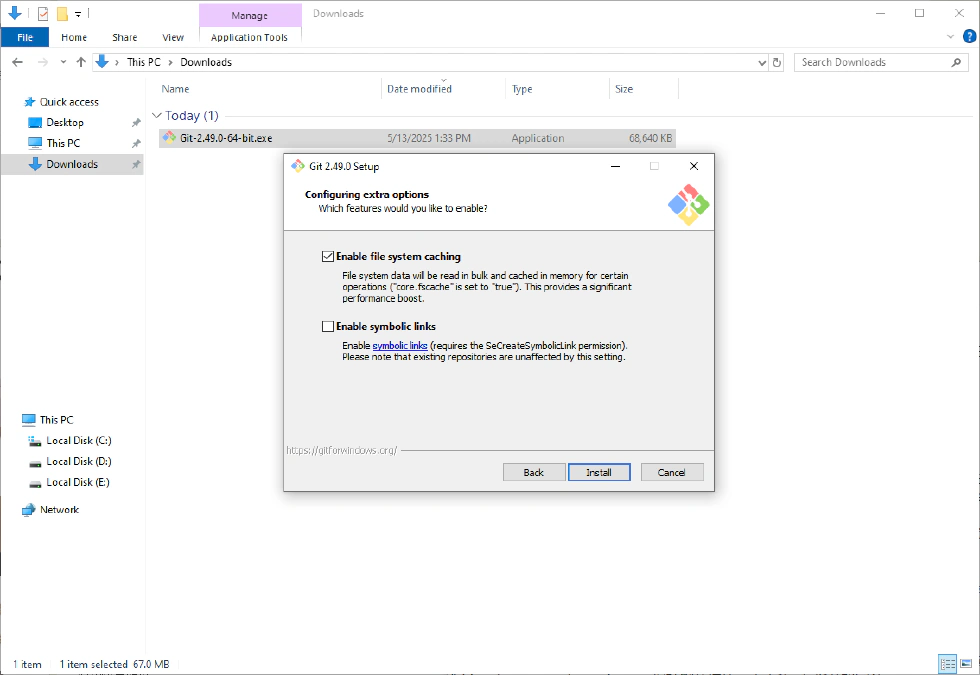
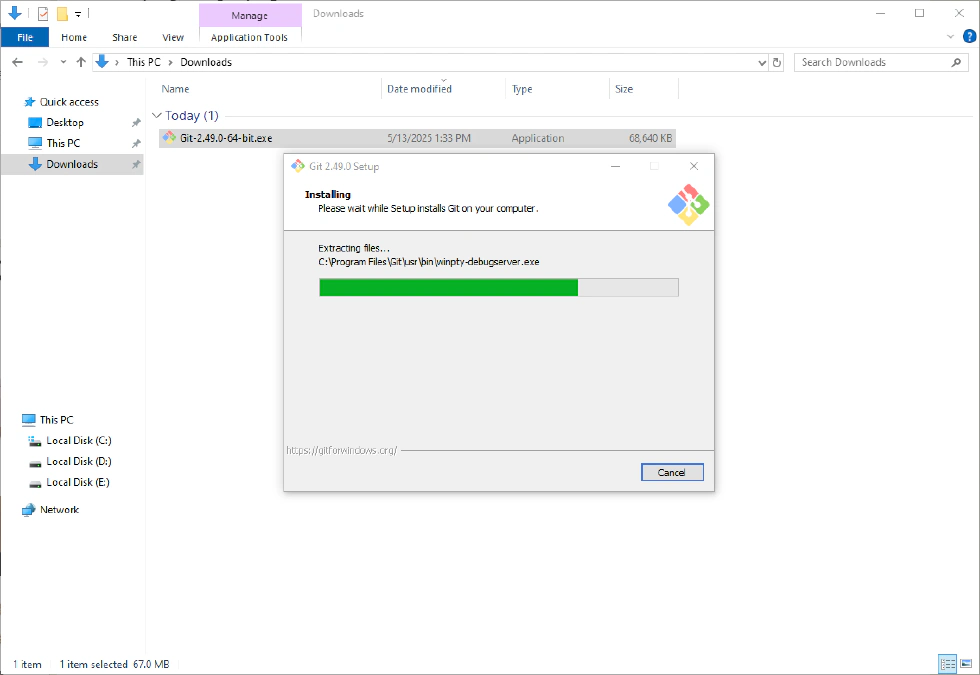
- Click “Install” to begin the installation process.
- Once finished, click “Finish”—your Git installation is complete!
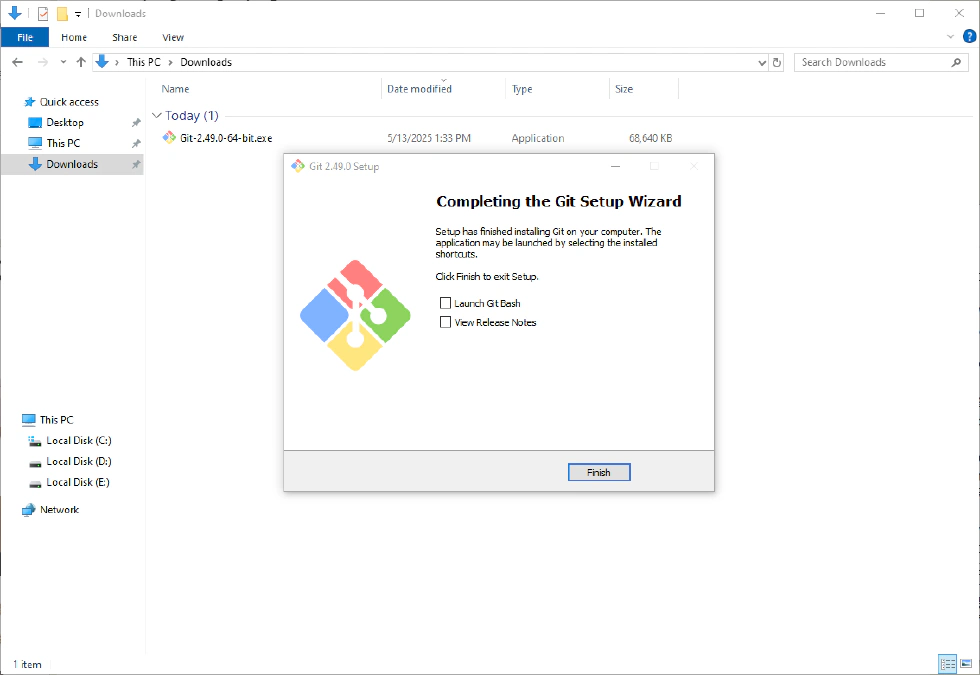
Congratulations! You have successfully installed Git on your computer.
Conclusion
Git is an essential tool for modern software development and collaboration. By following this guide, you’ve taken the first step toward mastering version control. Start experimenting with Git today to enhance your coding workflow and collaborate more effectively with teams around the world!