Practical Node.js Installation Step-by-step Tutorial
Installing Node.js is a straightforward process that opens up a world of possibilities for JavaScript developers. Whether you’re building web applications or exploring server-side programming, getting Node.js up and running on your machine is the first step towards harnessing the power of JavaScript beyond the browser. In this tutorial, we’ll walk through the installation process step by step, ensuring you’re set up for success.
Introduction to Node.js
Node.js is an open-source, cross-platform runtime environment that allows you to run JavaScript code on the server side. It has gained immense popularity due to its non-blocking, event-driven architecture, which makes it suitable for building real-time applications. Here are some key features of Node.js:
- Asynchronous and Event-Driven: Node.js uses non-blocking I/O operations, allowing it to handle multiple connections simultaneously without slowing down.
- Fast Execution: Built on the V8 JavaScript engine, Node.js compiles JavaScript directly to native machine code, ensuring high performance.
- NPM (Node Package Manager): Node.js comes with a built-in package manager that helps in managing libraries and dependencies easily.
- Full-Stack Development: With Node.js, developers can use JavaScript for both front-end and back-end development, streamlining the development process.
Installing Node.js
To get started with Node.js, follow these simple steps:
- Visit the official Node.js website and click the green “Download Node.js (LTS)” button.

- Open your downloads folder and double-click on the downloaded file, which will be named something like
node-vxx.xx.x-x64.msi.
- Click “Next” on the setup wizard.

- Accept the terms in the License Agreement by checking the box, then click “Next”.

- Choose the installation directory or click “Change…” to modify it (the default is “C:\Program Files\nodejs").

- Click “Next” on the “Custom Setup” screen.

- Click “Next” again; there’s no need to check any additional options.

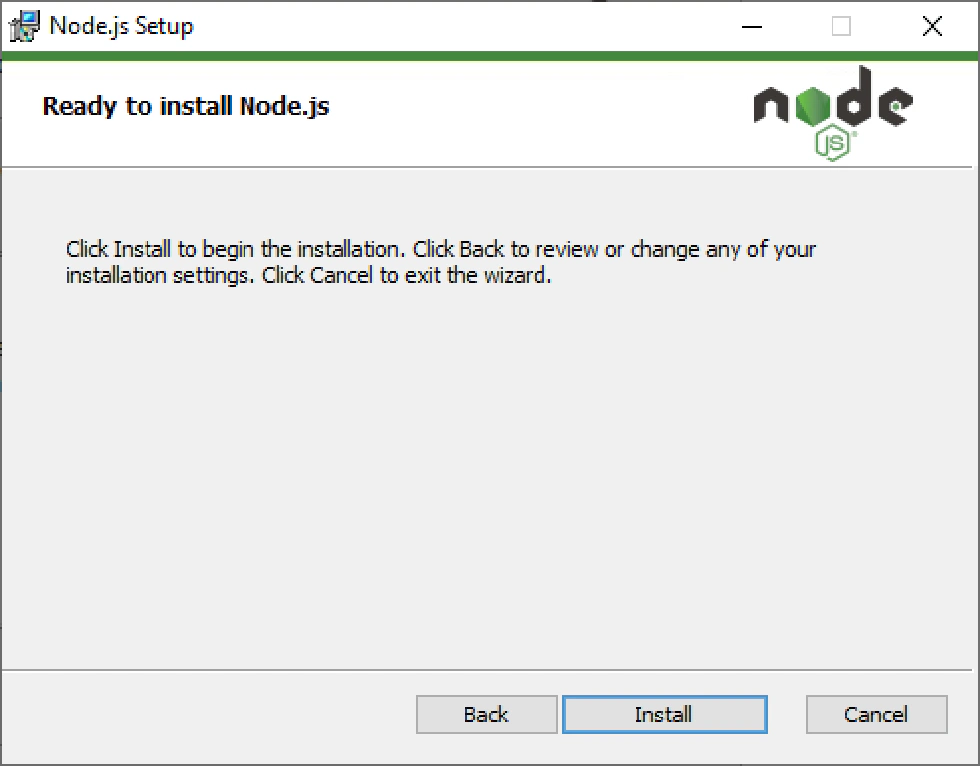
- Click “Install”. Once the installation is complete, click “Finish”.

Configuring Node.js
After installing Node.js, you may want to configure it for optimal use. Here’s how:
- Navigate to the installation directory you selected (default is “C:\Program Files\nodejs"). Create two folders named
node_cacheandnode_global.
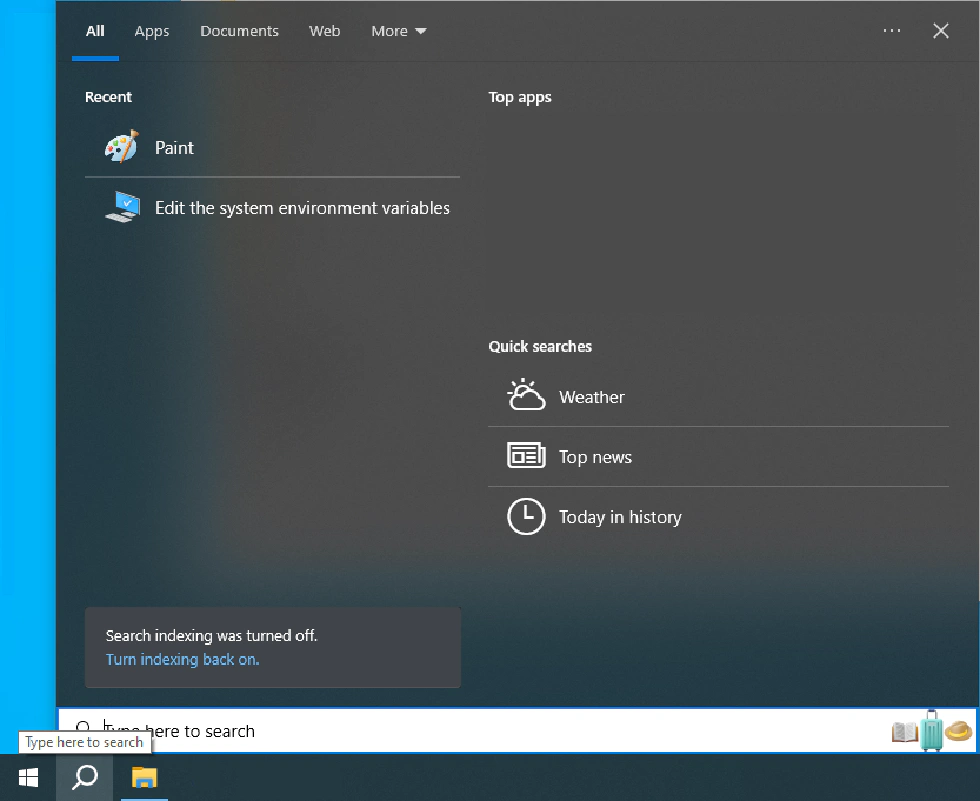
- Click the Search button next to the Start button, type “system environment”, and select “Edit the system environment variables”.

- In the System Properties window, click on “Environment Variables…”.

- Click “New” under User variables and enter
NODE_HOMEas the variable name, followed by your Node.js installation directory as the value. Click “OK”.
- Under System variables, find Path and double-click it (if it doesn’t exist, click “New…” to create one).

- Click “New” on the right side and add the following entries:
"%NODE_HOME%""%NODE_HOME%\node_global""%NODE_HOME%\node_cache"
- Under “User variables for …”, find Path and double-click it (or create a new one if it doesn’t exist).

- Click “New” and add
nodejs installation directory + "\node_global".
- Click on all the “OK” buttons to save your changes.
Verifying Node.js Installation
To ensure that Node.js is installed correctly, follow these steps:
- In any folder, hold SHIFT and right-click to select “Open PowerShell window here”.

- Enter the commands
node -vandnpm -vto check if Node.js and npm are working correctly. If you encounter any issues, review the previous steps or seek help from the community.
- Set the npm cache and prefix by entering the commands:
npm config set cache "'your nodejs installation directory'+'\node_cache'"npm config set prefix "'your nodejs installation directory'+'\node_global'"
- Congratulations! You have successfully installed Node.js.
Conclusion
Installing Node.js opens up a world of possibilities for web and software development. With its robust features and extensive community support, Node.js empowers you to build efficient and scalable applications. Whether you’re developing a small project or a large-scale application, mastering Node.js will significantly enhance your programming skills. Happy coding!