Hugo Custom Theme Usage and Programming Tutorial
In this tutorial, we will dive into the process of creating and using a custom Hugo theme, allowing you to give your blog a distinctive and eye-catching design. A unique theme can help your blog stand out and reflect your personal style or brand, making it more appealing to your audience. If you haven’t set up Hugo yet, please check out this tutorial to get started with the basics
How Hugo Themes Work
Hugo operates on a structured loading process, which is essential to understand before customizing your theme:
- Loading the Main Framework: The page loads using the
baseof.htmlfile. - Template Matching: It then matches the page’s Kind attribute with the relevant template file located in the
/layoutsdirectory. - Executing Template Syntax: The template syntax is executed, loading the necessary sub-modules.
- Generating Static Pages: Finally, Hugo generates the complete static page.
Template Matching Priority
When it comes to matching templates, Hugo prioritizes custom layouts in the following order:
'your blog'/layouttakes precedence over'your blog'/theme/'your theme'/layout.
How to Create a Custom Hugo Theme
Creating a custom theme in Hugo is straightforward. Follow these steps:
- In any folder, hold SHIFT and right-click to select “Open PowerShell window here”.

- In the PowerShell window, type
hugo new theme 'your theme'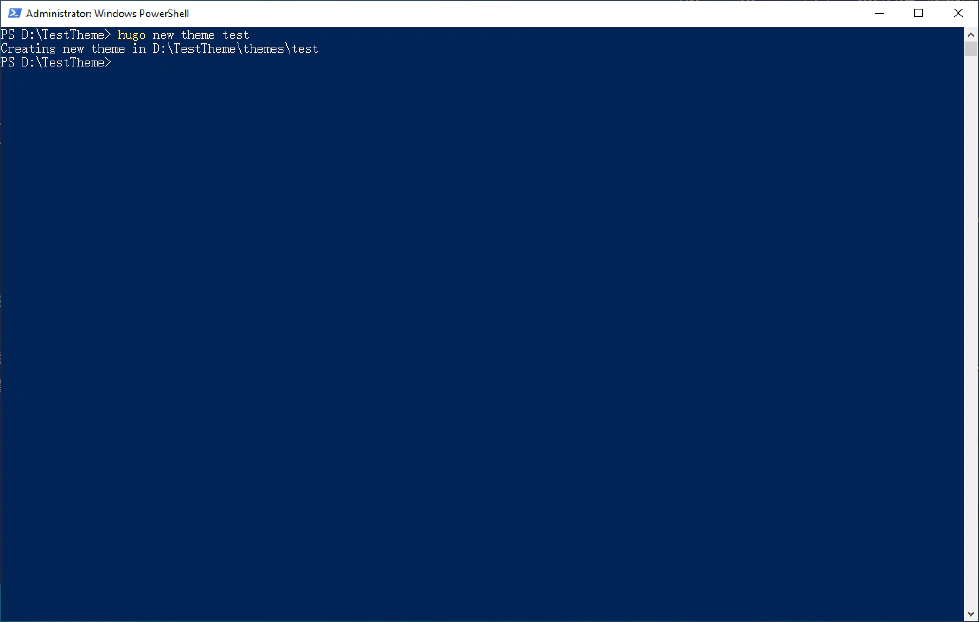
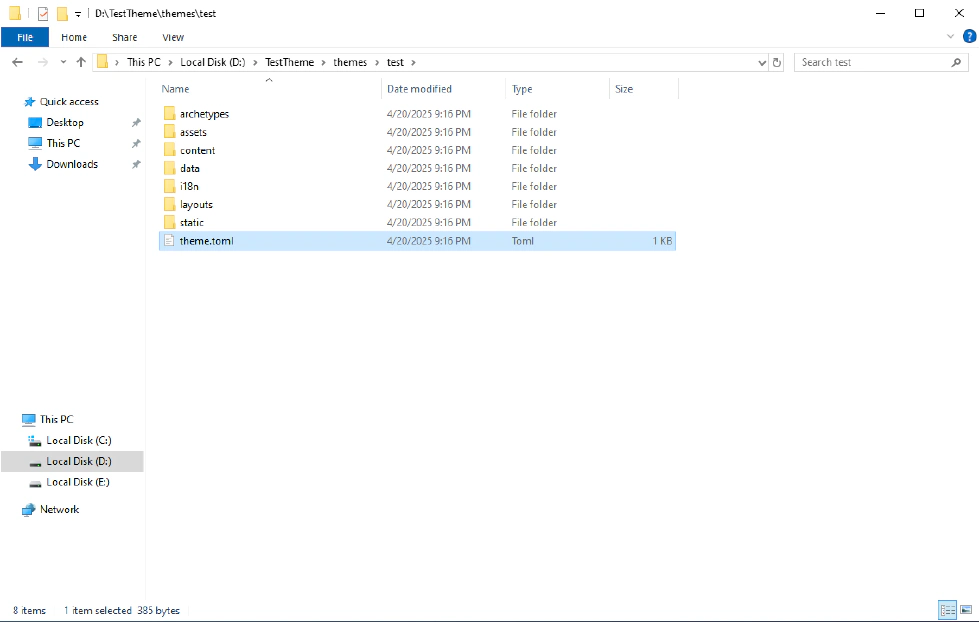
- Change to the newly created theme directory, rename
hugo.tomltotheme.toml.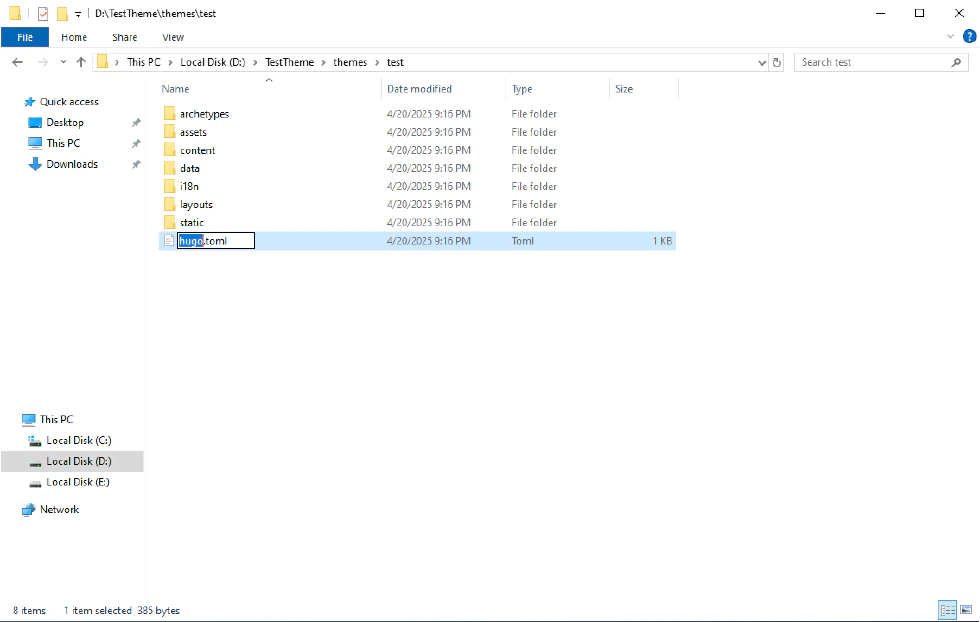
- open
theme.tomlin a text editor. Add thetheme = 'your theme name'and other theme configurations.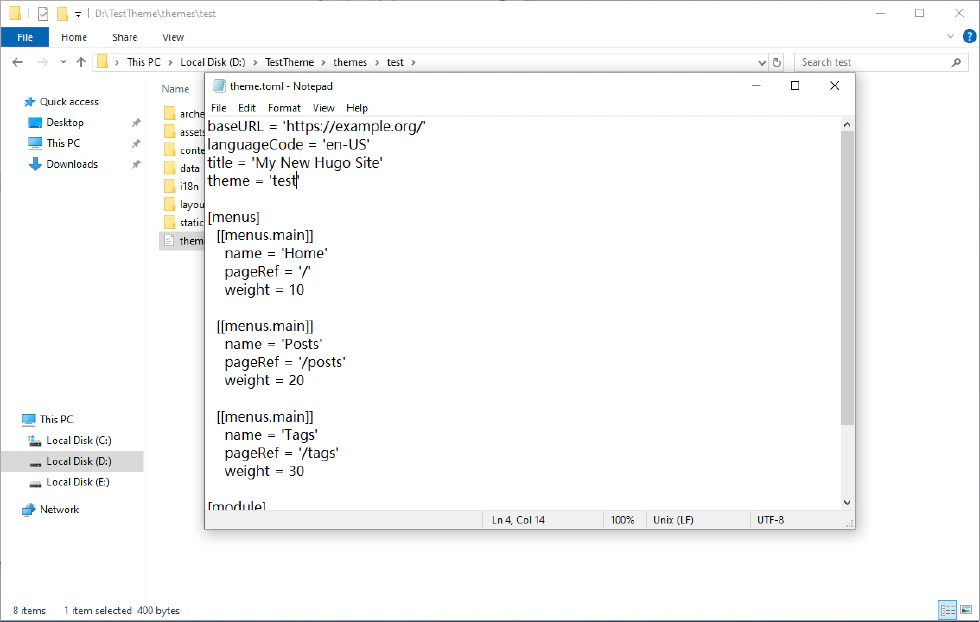
- Finsh. Refer to the directory’s comments to further customize your Hugo theme:
./themes
├── yourTheme/
│   ├── archetypes/ #custom front matter in markdown
│   │  └── default.md/
│   ├── assets/ # style and script
│   │  ├── css/ # style
│   │  │   └── main.css/
│   │  ├── js/ #script
│   │  └──── main.js/
│   ├── content/ #generated automatically by hugo new theme command.
│   ├── data/
│   ├── i18n/ #mulit-language
│   ├── layouts/ #web layout
│   │  ├── partials/ #submodules of web
│   │  │   ├── head/ #style and script (access from head.html)
│   │  │   │   ├── css.html
│   │  │   │   └── js.html
│   │  │   ├── footer.html #copyright
│   │  │   ├── head.html #web configuration
│   │  │   ├── header.html
│   │  │   ├── menu.html #navbar (access from header.html)
│   │  │   └── terms.html
│   │  ├── baseof.html #base of web
│   │  ├── home.html #home page
│   │  ├── list.html #list of post
│   │  ├── single.html #base of post web
│   │  ├── taxonomy.html # base of tags or categories webs
│   │  └── term.html # list of tags or categories
│   └── static/ #web icon
└── hugo.toml #hugo theme configuration
How to Use Your Custom Theme
- Open your Hugo blog directory and locate the
hugo.tomlfile using a text editor.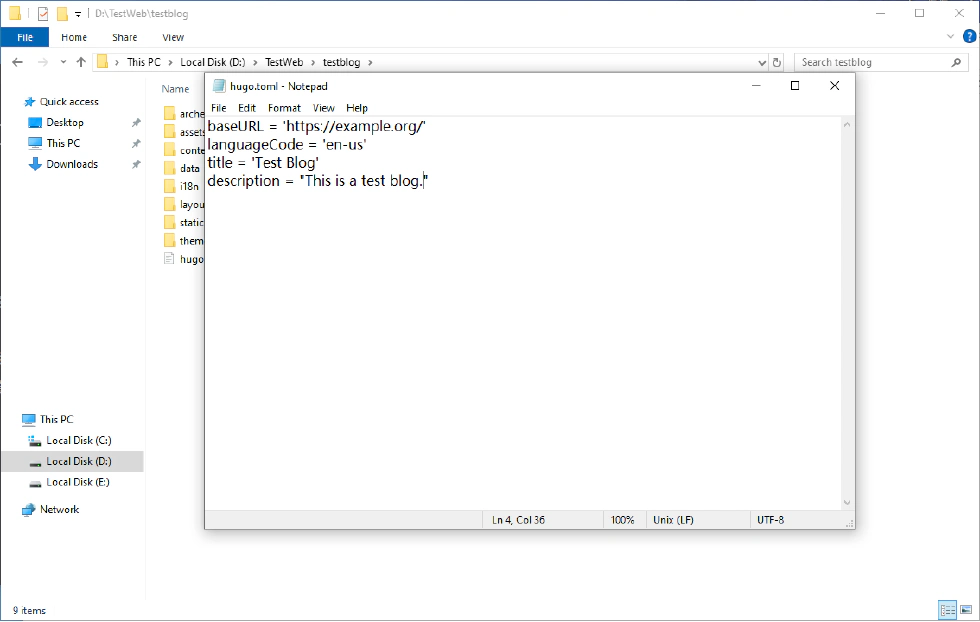
- Add the
theme = 'your theme name'to specify your custom theme.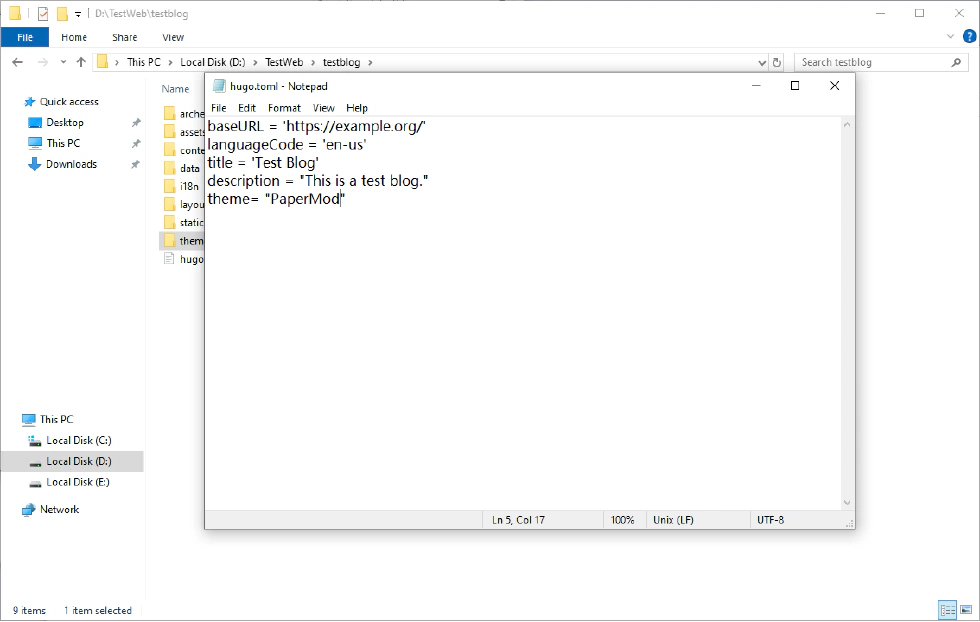
- Copy your custom theme folder and paste it into the
/themes/directory of your Hugo blog.
- Open PowerShell again in your blog directory by holding SHIFT and right-clicking.
- Finish. Run
hugo serverorhugoto check your custom theme’s apply.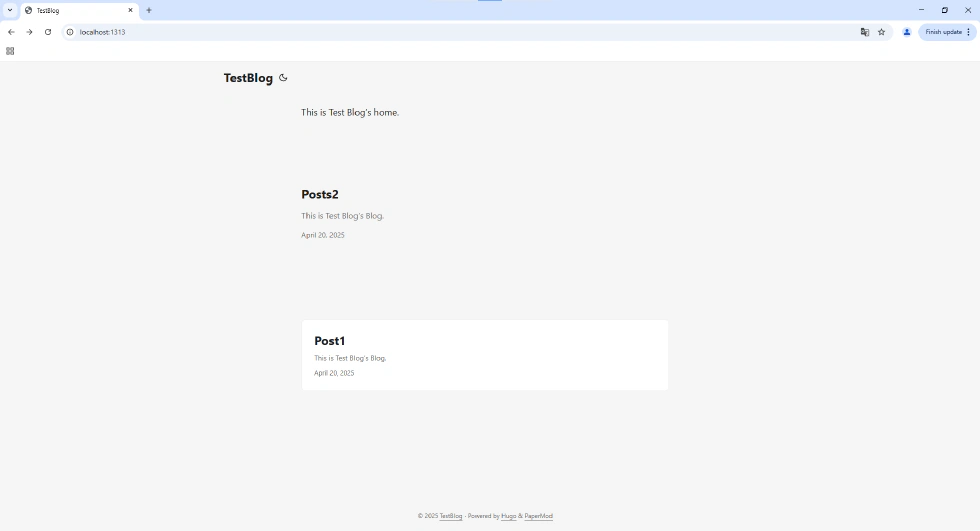
Additional Considerations
Referencing Styles and Scripts
To effectively manage your styles and scripts, ensure they are located in the appropriate folders:
- CSS styles should be in
./assets/css/. - JavaScript scripts should be in
./assets/js/.
In your theme files, define the following code:
In layouts/partials/head/:
For CSS (in /css.html):
{{ $style := resources.Get "css/style.css" }}
{{ $a := $style | resources.ToCSS }}
<link rel="stylesheet" href="{{ $a.Permalink }}">
For JS (in /js.html):
{{ $js := resources.Get "js/main.js" | resources.Minify | resources.Fingerprint }}
<script src="{{ $js.Permalink }}"></script>
Conclusion
Congratulations! You now have the knowledge to create and use a custom Hugo theme that enhances your blog’s visual appeal. By following this tutorial, you can ensure your site not only performs well but also reflects your unique style and personality. If you have any questions or need further assistance, feel free to reach out in the comments below. Happy blogging with Hugo!