Create Your Own Blog with Hugo Tutorial
Building a blog with Hugo is a straightforward and efficient process. This tutorial will guide you through the steps to set up your own blog, customize its design, and publish content effortlessly. Whether you’re a novice or an experienced developer, you’ll find essential tips, configuration advice, and resources to help you make the most of Hugo’s capabilities. Get ready to share your ideas with the world through your new blog!
What is Hugo?
Hugo is a fast and flexible static site generator written in Go. It allows you to create a blog or website quickly with its powerful templating system and a rich ecosystem of themes. Whether you’re looking to share your thoughts, showcase your work, or even create a portfolio, Hugo makes it easy to get started without needing extensive programming knowledge.
Download Hugo
To begin, you’ll need to download Hugo. Follow these simple steps:
- Visit the Hugo GitHub repository.
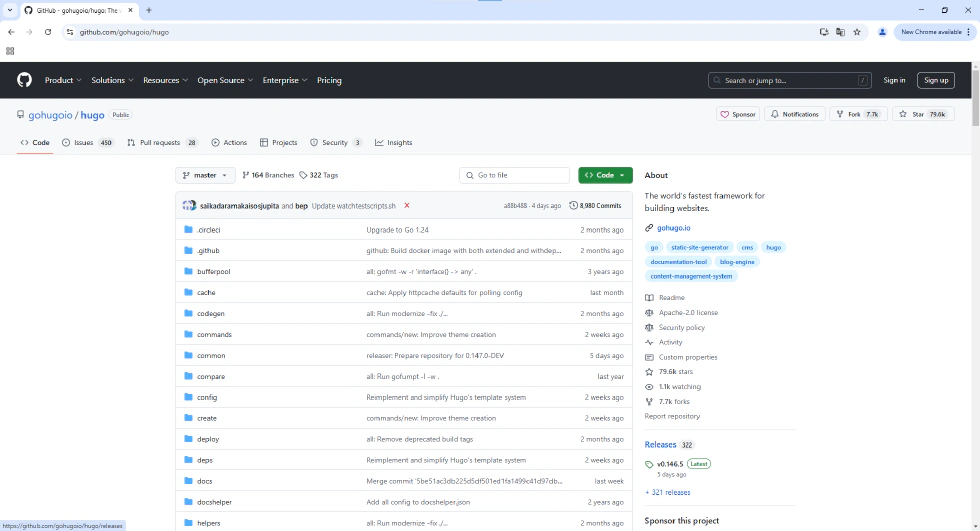
- On the right side, select the “Release” option.
- Under “Assets”, choose the version suitable for your operating system. (this tutorial use
hugo_0.146.5_windows-arm64.zip)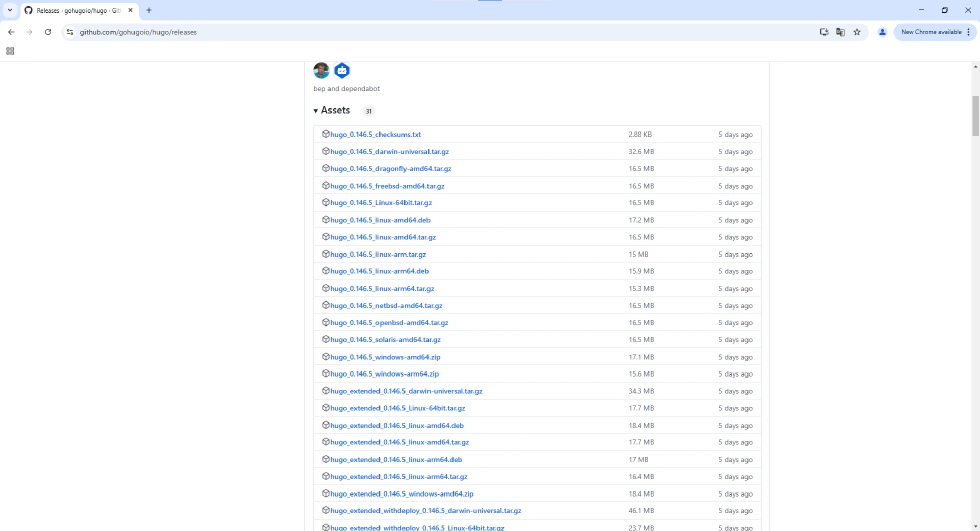
Deploy Hugo
After downloading Hugo, you need to deploy it on your machine. Here’s how:
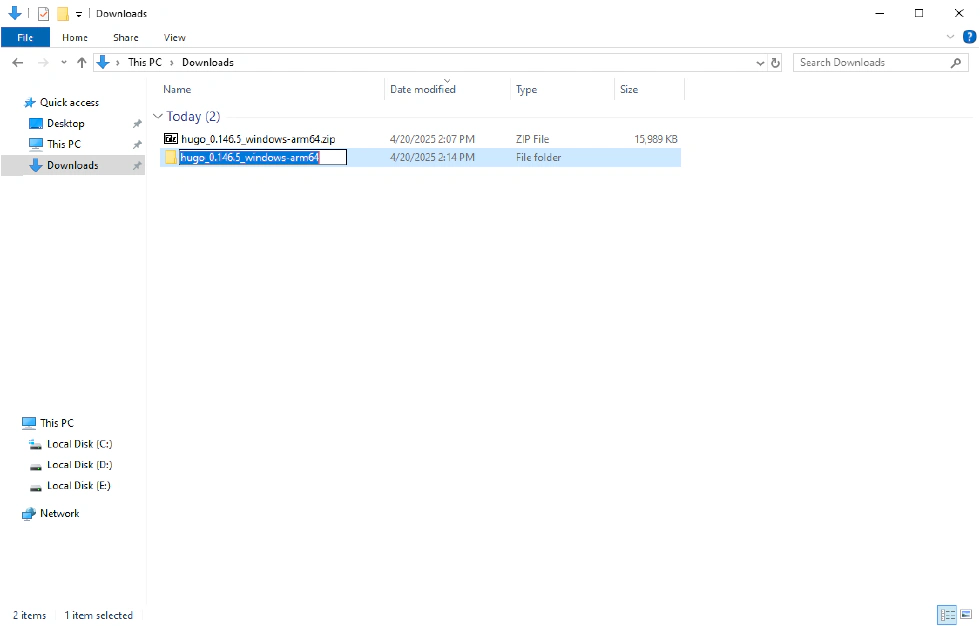
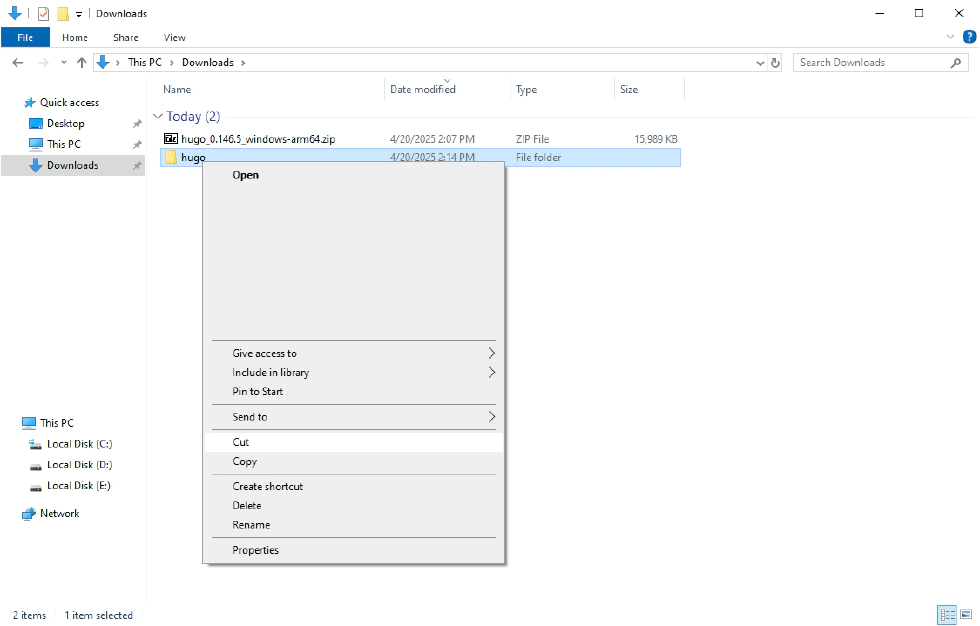
- Navigate to your Downloads directory and locate the downloaded zip file. Extract its contents.

- Rename the extracted folder to “hugo”.
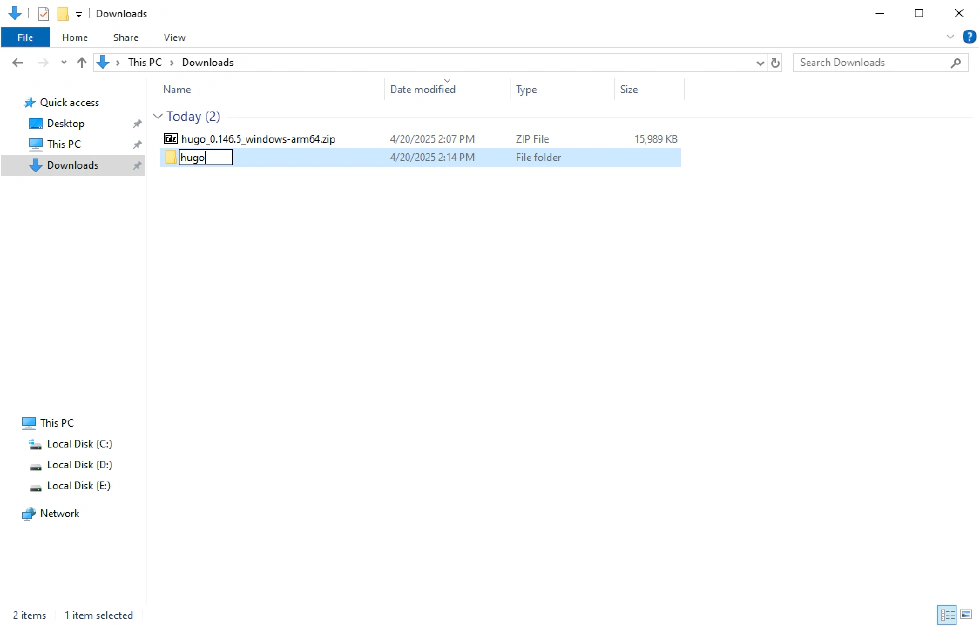
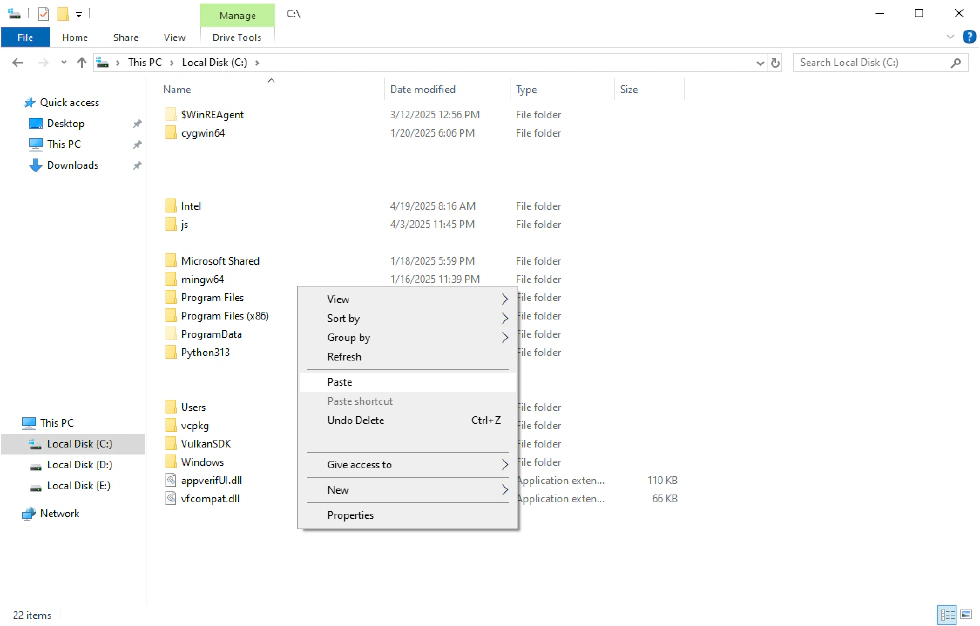
- Cut the folder and move it to the C: directory.
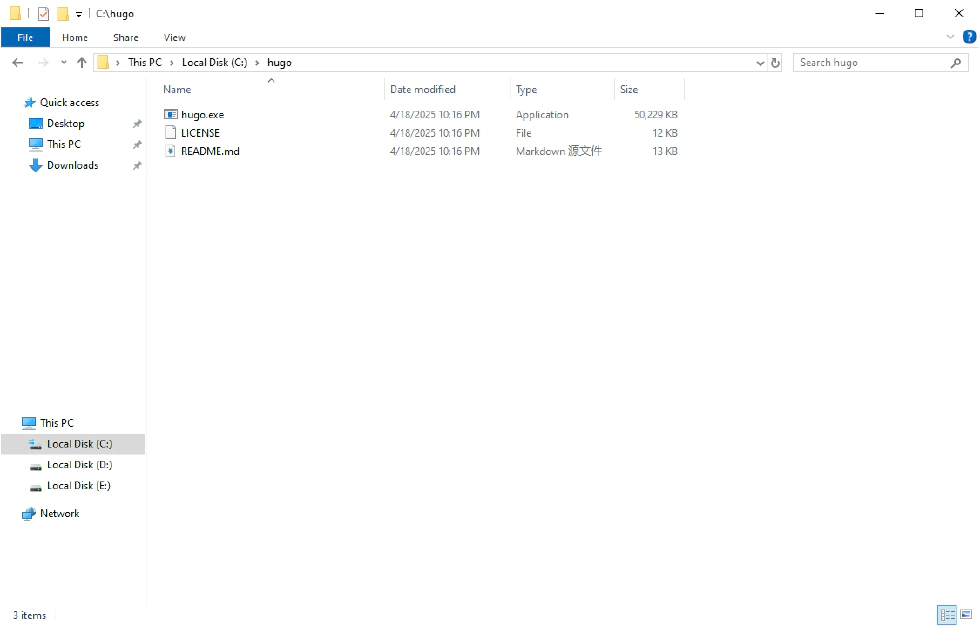
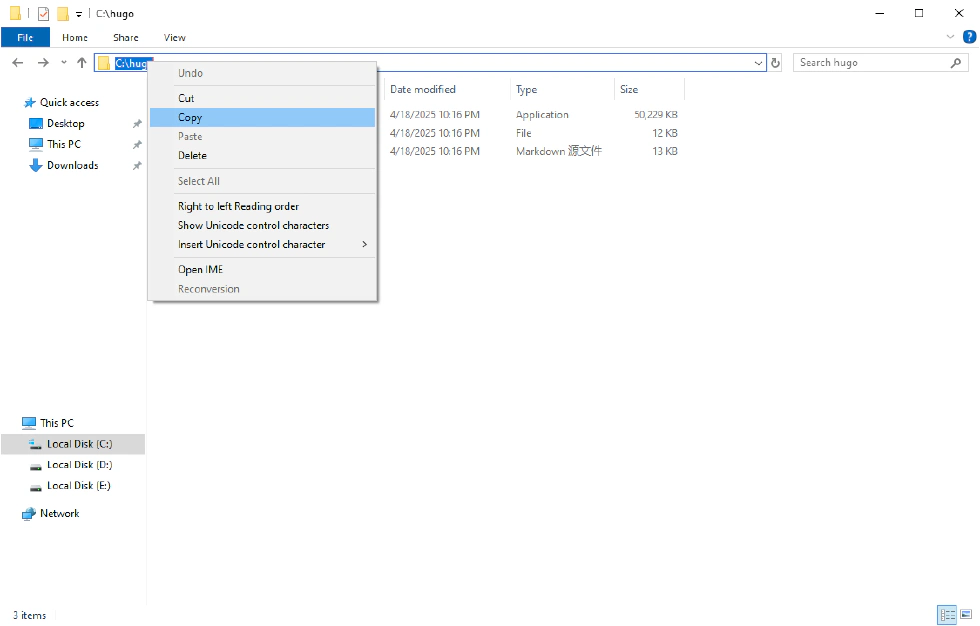
- Open the Hugo directory, click on the top address bar, and copy the directory path.
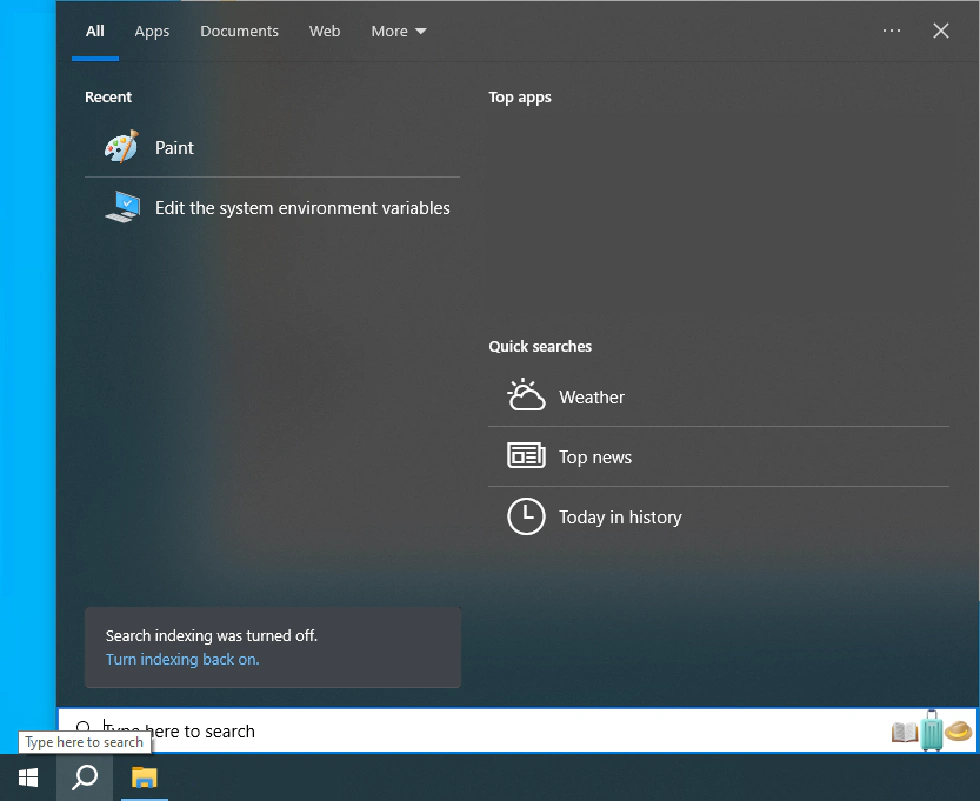
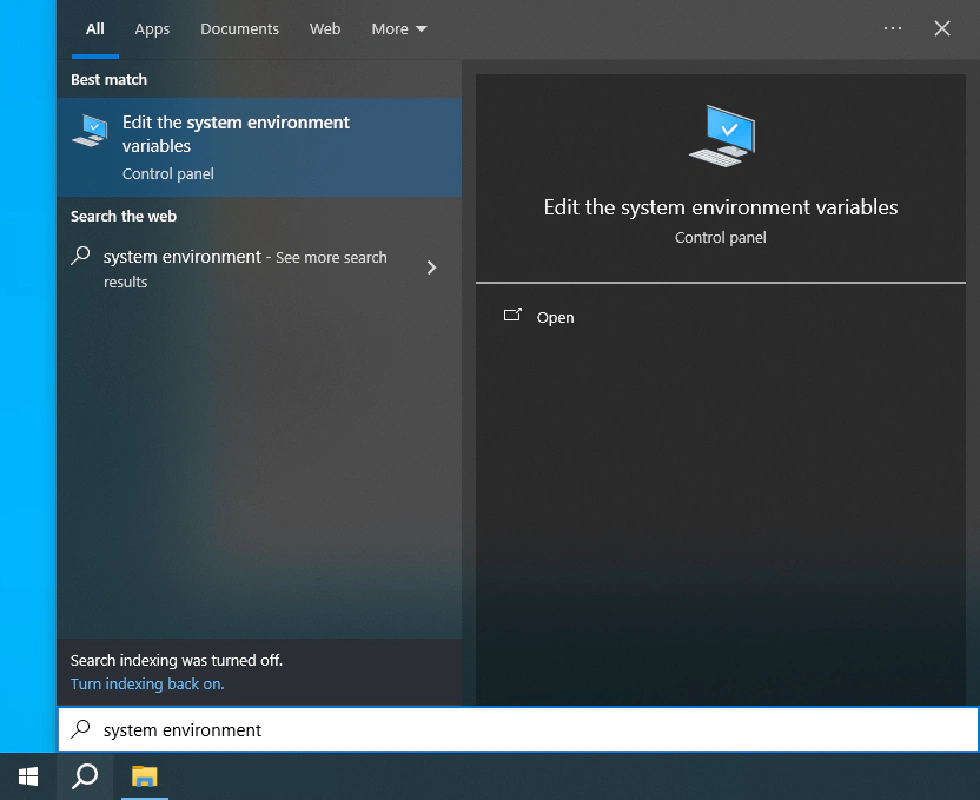
- Click the Search button next to the Start button, type “system environment”, and click on “Edit the system environment variables”.
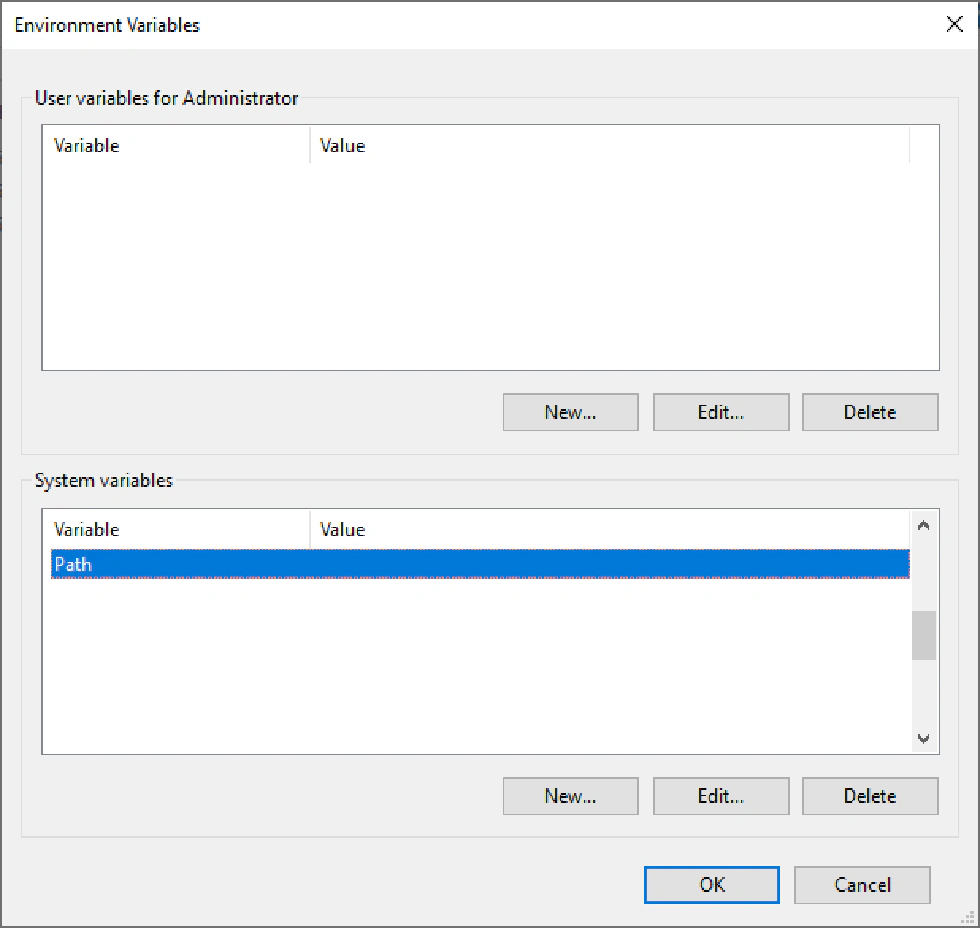
- In the System Properties window, click on “Environment Variables…”.

- Under System variables, find Path and double-click it (if it doesn’t exist, click “New…” to create one).
- Click “New” on the right side and paste the Hugo directory path you copied earlier.
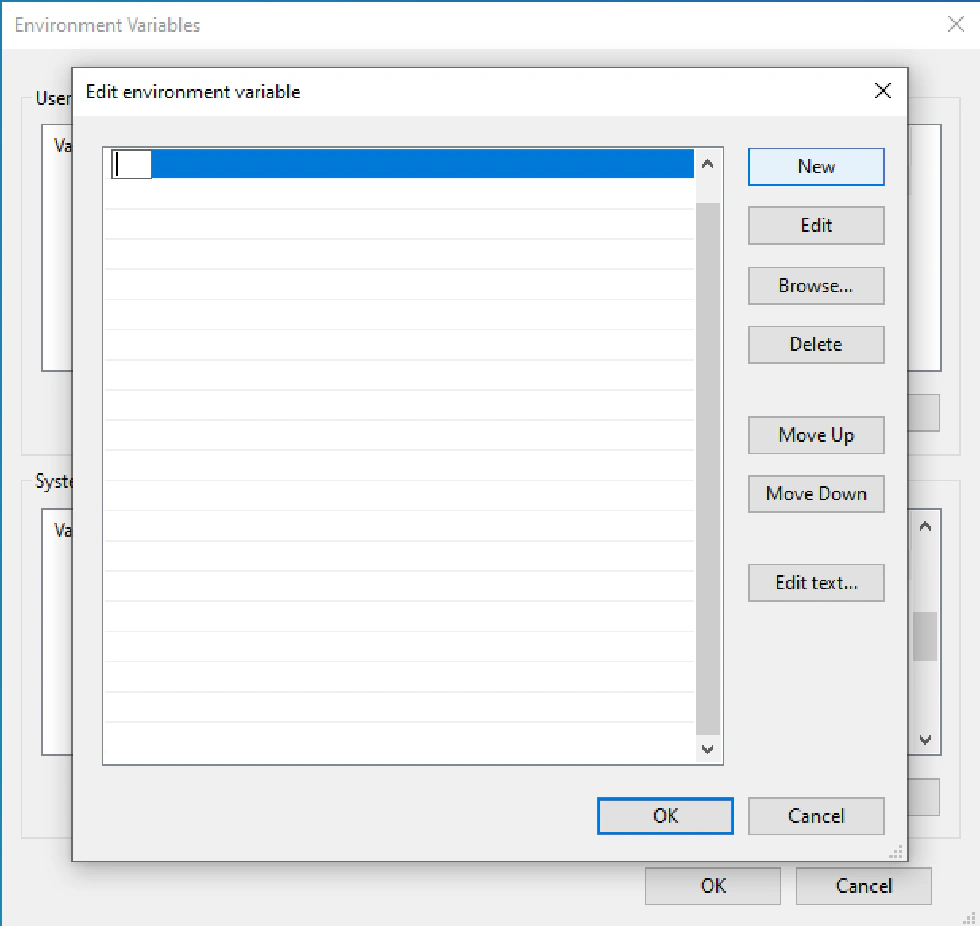
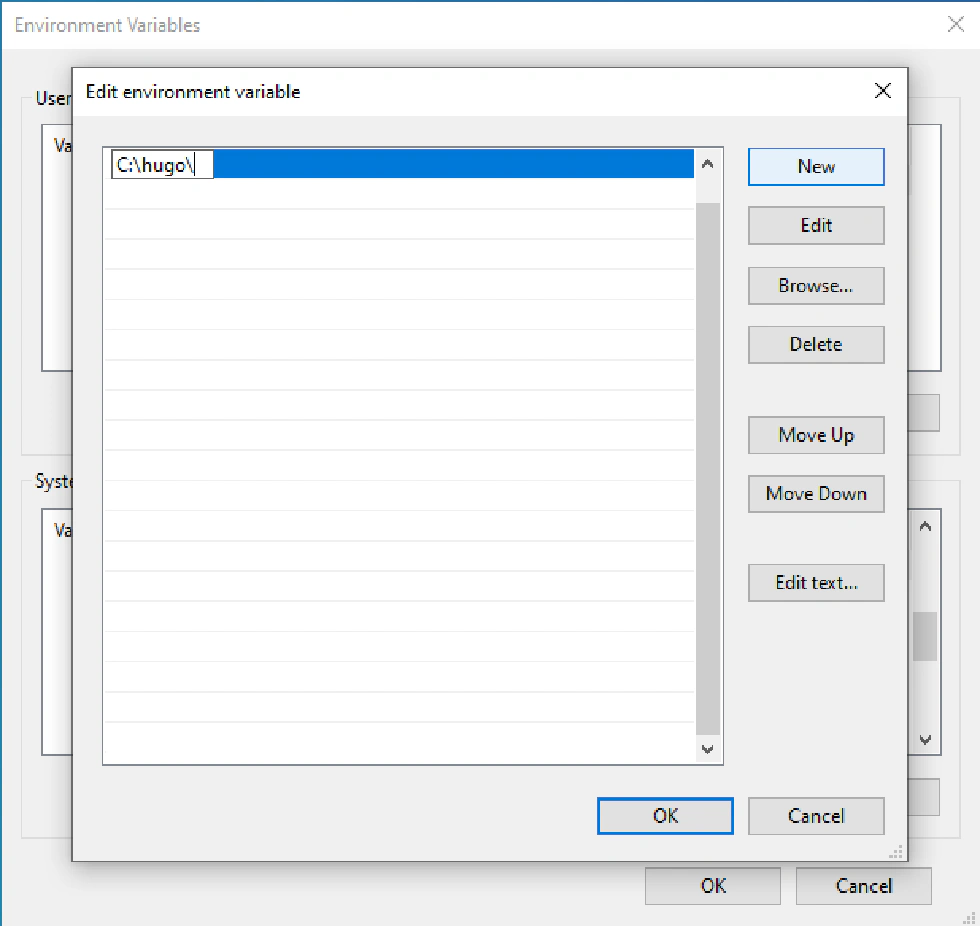
- Click on all the “OK” options.
Create Your Blog
Now that Hugo is installed, let’s create your blog:
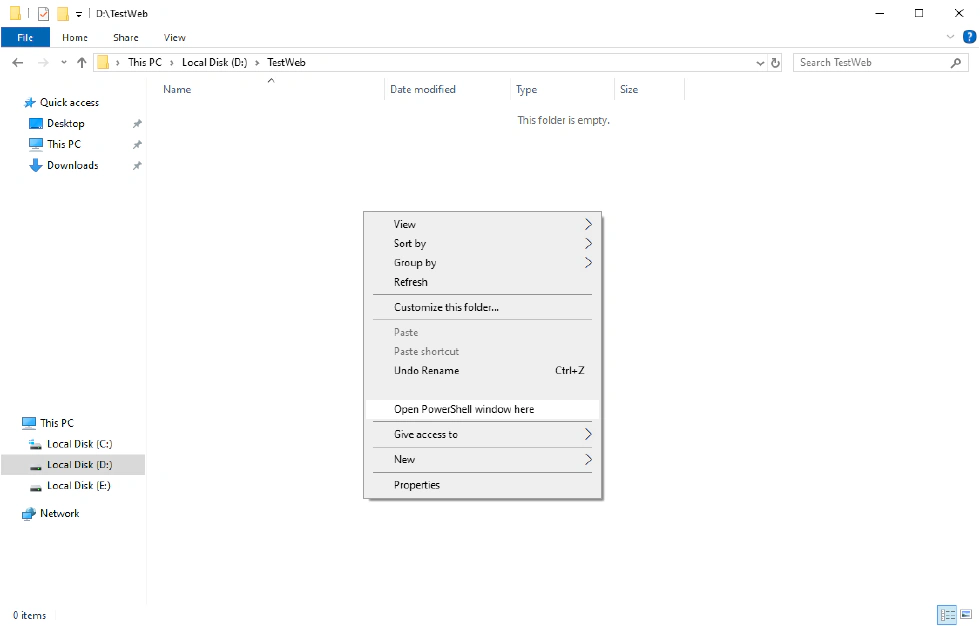
- In any folder, hold SHIFT and right-click to select “Open PowerShell window here”.
- In the PowerShell window, type
hugo versionto confirm that the Hugo command is working. If you encounter an error, restart your computer or seek help from the community.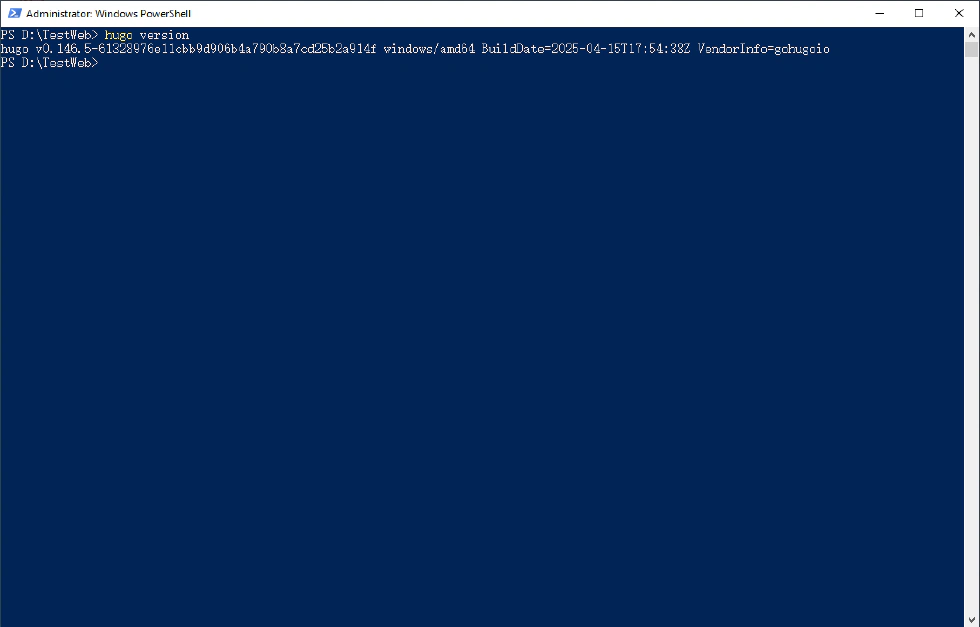
- Type
hugo new site 'your blog name'to create your blog. This will generate a new directory at./'your blog name'/.
Important Directories
- assets: Contains styles and scripts for your site.
- content: Where your blog content is stored.
- layouts: Defines the layout of your web pages.
- public: The location where the generated posts are stored.
- static: Holds other files for your website, such as icons.
If this is your first time using Hugo, you should first download a theme and place it in the themes folder. You can configure the hugo.toml file accordingly. Visit Hugo Themes to find a theme you like, or your blog will lack styling.
- Open the hugo.toml file at
./'your blog name'/and input your site’s name at thetitle = ''line or add a description at thedescription = ''.
- Return to the PowerShell window and navigate to your blog directory by typing
cd 'your blog name'. Then create the homepage withhugo new content ./_index.md. (to create other post typehugo new content ./posts/'post name'.md)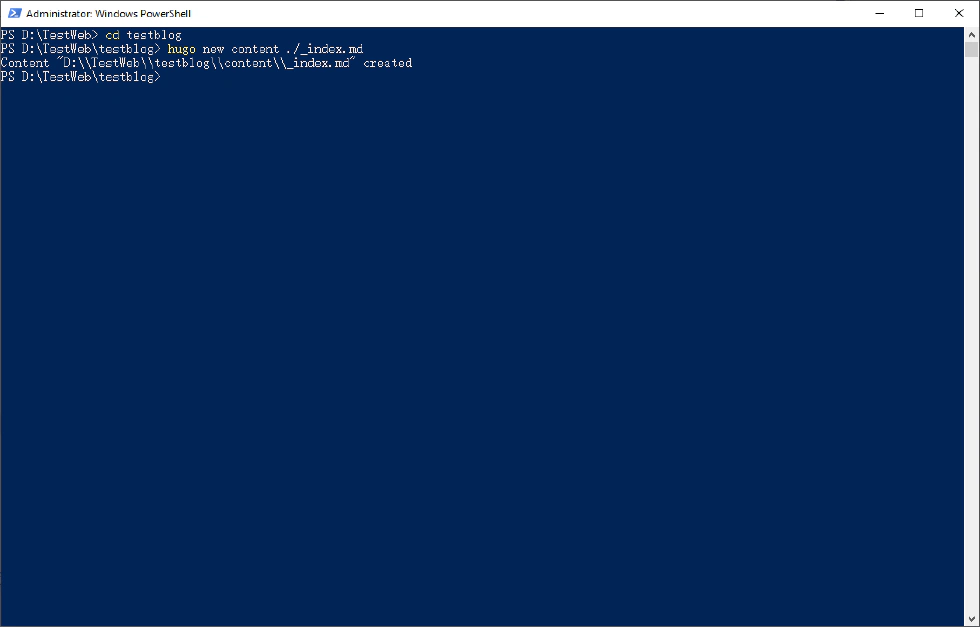
- Go to the content directory, locate
_index.md, right-click, and choose Open With > Notepad (or another text editor). - Remove the line that says
draft = 'yes'(you will need to do this for future posts, or runhugo server -Dto include drafts). Then add your post’s title, description, tags, and content as shown in the photo:
- Back in the PowerShell window, type
hugo server(if you don’t need to generate an online blog, simply typehugo).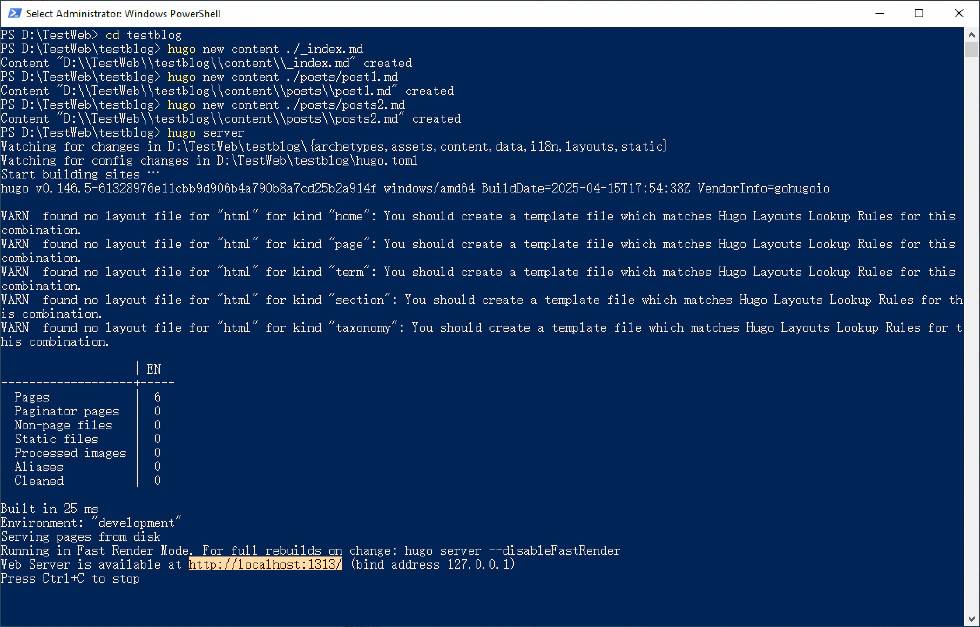
- The command will generate a link
http://localhost:1313/. Copy it and open it in your browser.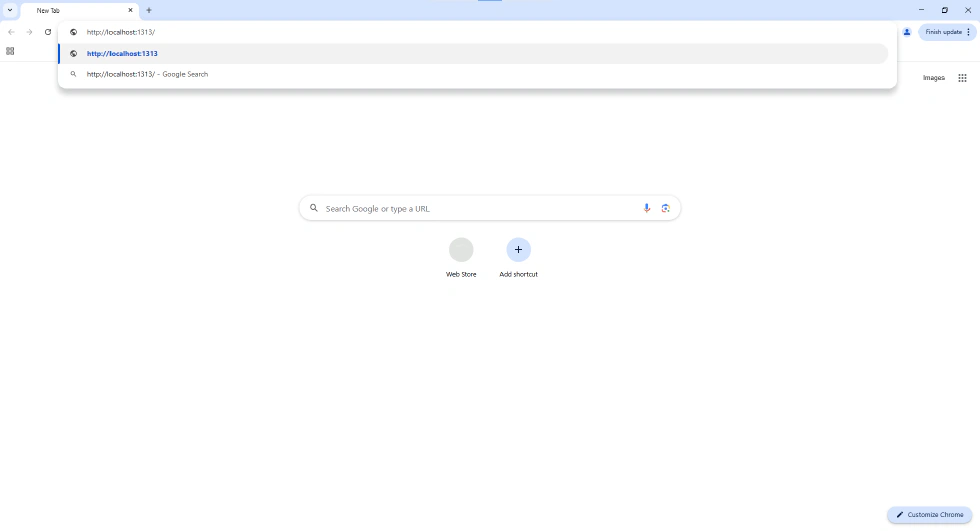
- Congratulations! You have successfully learned how to create a blog using Hugo.

Conclusion
Creating a blog with Hugo can be a straightforward and enjoyable process. With its powerful features and flexibility, you can customize your blog to suit your needs. Now that you have your blog up and running, feel free to explore further and share your ideas with the world! Happy blogging!